
It's basically a heart made up of pictures of the things you love, inspirational quotes or whatever you would like.
All you need is: a pair of scissors, a guillotine (optional), some pictures (any sort-printed from the Internet or actual photographs) and some blue tac to stick the pictures onto the wall with!
Here's how to do it:
1) Print off 27 pictures of the same size from the Internet, Tumblr, Instagram, Pinterest etc. you may need to crop some down or change the size to get them all the same.

For mine, I just searched on Google Images 'tumblr quotes', 'tumblr photographs', 'tumblr disney' etc. until I found 27 images that I liked.
If you would like a slightly larger heart or have too many images, then print 40 pictures for the next size up. Additionally, if you don't have much printer ink or many pictures, you could go for a smaller heart of 16 images. I wouldn't recommend going any smaller than 16 but you can if you want.
2) Cut the pictures out with a guillotine for straight edges or use some scissors if you don't have one.
3) Blue tac the backs of the pictures before laying them out on a table, desk or floor in the order that you would like and the design that fits the amount of pictures that you have (see below)
If you have 16 images then you need to do (starting from the bottom) a row of 1 image, then 3, then two rows of 5. For the top row, you should leave a gap of 1 picture, then place 1 picture, leave a gap, place 1 and finally leave a gap.
For 27 images, you need to do a row of 1 image, then 3, then 5, then two rows of 7. For the top row, you should leave a gap of one picture, then place 2, leave a gap of 1, place 2 and finally, leave a gap (see image above for more details).
Finally, if you are using 40 images, you should do a row of 1, then 3, then 5, then
7, then two rows of 9. For the top row you should leave a gap of one, place 3, leave a gap of 1, place 3 and leave a gap of 1.
For an even larger heart, well, you get the idea!
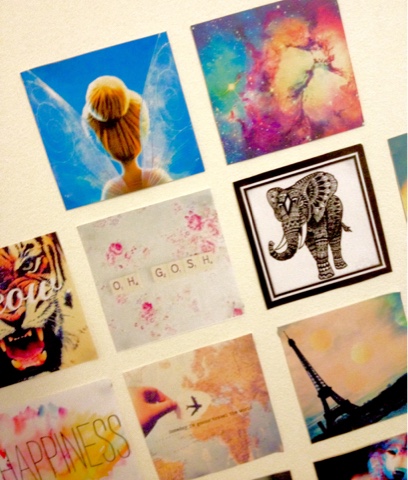
Here's a few pictures of my final heart:


Comment below if you try this decor and how you made it your own and if you would like to see more of these DIYs in the future!
Thanks for reading,
Happy Valentines Day (I know it's a bit late),
Bye for now!

0 comments:
Post a Comment